


Proper Rowing Form- on a Concept 2 rower
So it’s winter. Or it’s raining. Or it’s too sunny. Regardless of the reason, you’ve decided to do your rowing workout on a Concept 2 rower. This blog will help you get situated on your rower and have a good workout without hurting yourself.
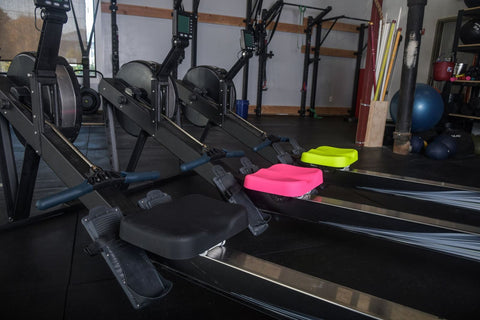
This is the Concept 2 Model D Rower. In our experience, it’s what the majority of people use, so we’ll be using this as our guide today.
Set Up
- You need a place to put your rower. Preferably someplace flat.
- You’re going to want to adjust the angle of the performance monitor to an angle that you can see from any point in your stroke.
- Next, the foot straps. You’re going to want to adjust it so the strap of your foot is about level with your baby toe.
- Get a seat cushion if you want it (or need it) (link)
Alright! You’re (sort of) ready to go!

The Damper
This little thing is used to adjust airflow to the flywheel. Now, where you put it really depends on you and how comfortable you are on a rower and the amount of power you can produce as an athlete. A higher damper setting (highest is 10) allows more air into the wheel. This means it takes more work to spin the wheel, and the wheel slows down more quickly. So you need more work to spin it again on the following stroke. A lower damper setting (lowest is 1) makes it easier to spin the wheel. A rule of thumb is that a higher damper setting is better if you’re going for a strength workout, and a lower setting is better for an aerobic workout.
*Fun Fact*- the damper setting has nothing to do with resistance whatsoever.
It is recommended to start your damper between 3 and 5 and then decide what works best for you.
Alright! Now you’re ready to row!
The Stroke
We typically divide the stroke into four parts: catch, drive, finish, and recovery. We work on the drive and rest on the recovery.
With the catch, your arms are straight, your back is straight, your head is neutral. You want your upper body leaning forward (in front of your hips). You want your shins to be as vertical as possible, and you want to keep your heels grounded. The reason for this is simple, by keeping your heels grounded, you generate more power with less exertion (also your calves don’t cramp).
This begins the drive, you start with your legs. Your legs push and then drive back, to the point where your knees are almost fully extended. When you’ve reached this point, you want to extend your back so your back is still straight but now is behind your hips (this should really engage your core). After that you add the arm pull. Your arms should only be moving horizontally and you want to hit right around your xiphoid process. Your shoulders should be be relaxed and not tensed up.
This leads right into the finish. Your back is straight, and your upper body is leaning back with your core engaged. Your handle is at your xiphoid process, and your shoulders are low.
Now, you can recover (which is pretty much the exact opposite of what you just did). First your arms extend. Once they are fully extended you can begin to flex your knees to where they originated (with vertical shins). At this point, you also want to keep your back straight, but move your upper body to its starting position in front of the hips.
If you’re more of a visual person, here is a nice video made by the kind folks at Concept 2: Proper rowing technique by Concept 2
Breathing
Breathing on a rower is pretty easy, but the most important thing is to develop a pattern. If you’re doing a low-intensity workout (one breath per stroke). You want to exhale on the drive (when you’re expending effort) and inhale on the recovery.
If you’re doing a high-intensity workout (2 breaths per stroke), you want to exhale on the drive. During the recovery, do a full inhale, then exhale quickly. Then inhale again just before the catch.
Have fun rowing!